Materials needed
-At least 2 yards linen or canvas fabric. Linen being historicaly preferred.
-Appropriate needle for fabric weight.
-Pins, I only had two but more will definitely benefit you.
-Thread of similar color to fabric.
-Your arrow spacer
-A string for the top drawstring
-A leather string, aprox: 6 inches
Here is the pattern...
A- This is the circumference of the arrow spacer and will be the width of the fabric. This is where the spacer will be sewn into the bag.
B- This is where the bottom of the bag will be tied to hold the arrows in. It is the same measurement as A.
C- Fold the fabric down along this line to make a space for the drawstring. It is the same measurement as A.
Step 1. Measure the circumference of your arrow spacer and add 1/2". As you can see mine measures 22" exactly. Mark measurement A.
 |
| Marking measurement A |
Now we can mark measurement B and C in relation to the arrow. B should be marked about 3 to 5 inches below the tip of the arrow. Be sure that there is enough arrow above line A so that when you mark line B the arrow wont fall through the spacer when the bag is completed. The distance from A to B should be about 26 inches
 |
| Marking line B |
 |
| Marking line C. Line C would be the one that is farthest left. The other two are not needed, I was just experimenting. |
Step 3. Cut out the pattern. It should look just like the pattern up above. A simple rectangle with your lines A, B and C drawn on it.
 |
| The pattern as it should look before cutting out. |
 |
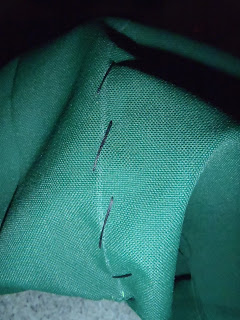
| The whip stitch almost completed. |
 |
| The double-rolled hem. |
 |
| View from the top. View from the bottom. |
Okay, so that is all I can manage for the time being. Please let me know if this was helpful and if needed what do I need to change.
Thanks all!


No comments:
Post a Comment